Ask a struggling player what they do when a note will not speak and you get a one-word answer almost every time. Compress. They squeeze. They tighten everything. They pull whatever muscle they can find around their lips and crank it down a notch, and when that does not work they crank another notch, and another, until either the note pops out or the chops give out.
That is not lip compression. That is panic with a vocabulary problem.
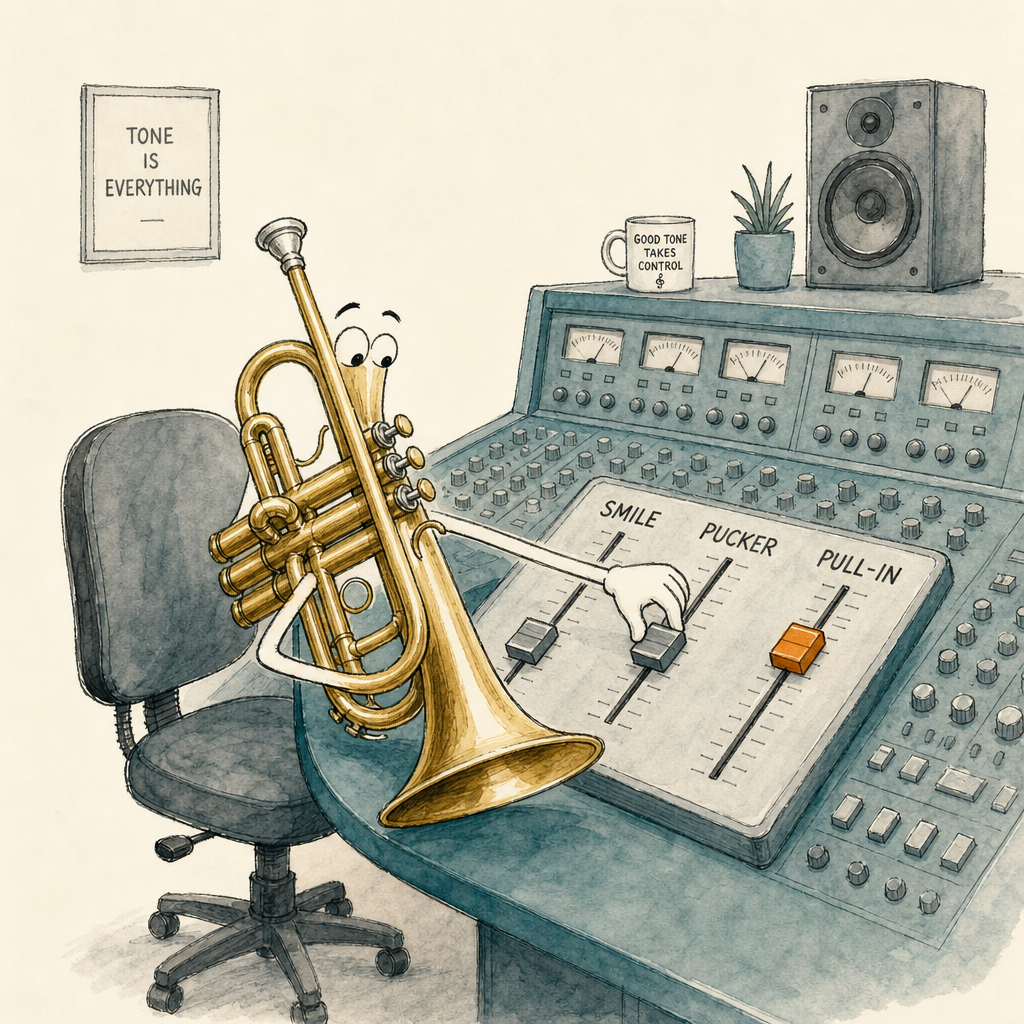
Real lip compression is not a single thing you do more of. It is a direction you choose. There are at least four of them, each one recruiting different muscles, producing a different sound, costing a different amount of endurance. The best players have all four available and reach for the right one for the job. Most amateurs have one and apply it to every situation whether it fits or not.
This article gives you the four directions, what each one is good for, what each one is wrecking when you misuse it, and how to start training the ones you do not have. If you have ever said the words “I am compressing as hard as I can,” this is for you. The problem is not the amount. The problem is the vector.
The Wrong Way Most Players Think About It
Here is the picture in most players’ heads when someone says compression. A bench vise. Crank the handle, the jaws close, more pressure. Crank harder, more pressure still. Compression is a number. Bigger number, harder squeeze.
If that were true, the answer to every high note would be the same answer. Squeeze harder. For a few weeks of a young player’s life, it almost works. They squeeze, the note pops out, they file that under “now I know how to play high.” Then their endurance falls off a cliff, their tone gets thin and pinched, and they spend the next ten years wondering why the trick quit on them.
It quit because compression was never a number. They were guessing at one variable in a system with four.
A Hand Knows How to Grip in Many Ways
Hold out your hand and think about how many different ways you can grip something.
You can wrap your whole hand around a barbell, every joint loaded, every muscle in the forearm firing. Climbers call that a power grip. You use it when you need to move a heavy thing.
You can squeeze a coin between your thumb and the side of your index finger. Two small surfaces, very little force. That is a pinch grip. You use it when you need precision, not power.
You can rest a pen across the pad of your middle finger, steadied by the index finger and the thumb, just enough tension to hold it stable while the wrist moves. That is a precision grip. It is fine motor control with the smallest amount of force the job allows.
You can curl just the last segments of your fingers around a hangboard edge, thumb out of the picture, the whole load on the finger tendons. Rock climbers call that a hook grip. It is the grip that holds a body to a half-inch ledge.
Four grips. Four jobs. All four are “a tight hand,” and yet they are not the same thing at all. Try to open a jar with a precision grip and you will fail. Try to write your name with a power grip and you will fail. A hand that only knows one grip is a bad hand.
Your lips have the same problem and the same solution.
The Four Vectors of Lip Compression
The orbicularis oris is the muscle ring around your mouth, and it is not one muscle. It is four overlapping quadrants surrounded by a small committee of other muscles that all pull on the corners of the mouth from different angles. Risorius pulls the corners sideways. Zygomaticus pulls them up and back. Depressor anguli oris pulls them down. Mentalis lifts and stiffens the chin. Levator anguli oris lifts the corners. The buccinator presses the cheek against the teeth.
When you “compress your lips” you are picking which of those muscles to fire and how hard. Pick a different combination, you get a different vector. Here are the four that matter.
Vector 1: Pucker (Concentric)
The orbicularis oris contracts toward its own center, like a drawstring pulled tight. The lips narrow circumferentially. The corners stay relatively quiet. The center of the lip gets rounder and tighter.
What it is good for. Warm low notes. Round, focused middle-register playing. Anything where the sound wants weight and depth. This is the vector the Maggio tradition leans on, and it is what most pop-physics descriptions of “pucker your lips like you are whistling” are actually pointing at.
What it costs. Pucker hard enough and you choke the airway entirely. The aperture clamps shut and nothing vibrates. Players who over-pucker get a stuffy, woofy sound and a lid on their high range because there is no room for the air to move fast enough.
Vector 2: Pull-In (Toward the Teeth)
The whole lip mass presses back against the front surface of the teeth. Mentalis fires and pushes the lower lip flat. The deeper layers of orbicularis oris engage. The vibrating tissue gets shorter, stiffer, and braced against the bone behind it.
What it is good for. Stability. A pulled-in lip is hard to wobble. Players with thicker lips often default here because there is more soft tissue to corral, and pull-in is the cleanest way to get it under control. Range comes more easily because the vibrating mass is reduced.
What it costs. Mobility. A lip pressed flat against the teeth cannot flex easily for fast intervals or wide leaps, and intonation tends to lock to specific notes rather than bend between them. Overdo it and the tone gets dry and pinched.
Vector 3: Smile (Lateral)
Risorius and zygomaticus pull the corners of the mouth sideways and slightly up. The orbicularis oris gets stretched longitudinally. The lip thins out. The aperture flattens horizontally.
What it is good for. A short-term cheat to ascend. Lateral stretch does raise the natural frequency of the lip, and a smile-dominant player can rip up to a high note fast. For a while.
What it costs. Everything. This is the most expensive way to play the trumpet and the one most quietly wrecking the most chops.
Here is why. A stretched lip is a thin lip. A thin lip has less mass to vibrate, so the player has to compensate by pressing the mouthpiece harder into the face to keep contact. And here is the math that nobody told you. The capillary pressure in your lip tissue is about thirty-three millimeters of mercury. The contact pressure under a fortissimo high note has been measured at over five hundred and sixty millimeters of mercury, more than fifteen times the threshold where blood flow gets cut off.
Translation. When you smile-and-press to ascend, you pin thin tissue against a hard rim of metal with enough force to cut off the blood supply to the muscle you are asking to vibrate a thousand times per second. Short term it works. Long term it is how endurance dies, how white rings get left on lips, and how chops quit on people who used to play just fine.
If your default vector to ascend is smile, fix that first. Before anything else in this article.
Vector 4: Corners Firm, Center Soft (Isometric)
The corners of the mouth brace at the modioli, the fibrous knots where six or seven facial muscles all attach. Depressor anguli oris, levator anguli oris, buccinator, risorius all fire in opposition. The corners do not move sideways, do not move up or down, do not move at all. They are held in place by balanced opposing forces, the way a tug-of-war rope sits perfectly still in the middle of the field when both teams pull equally hard.
The center of the lip, the segment inside the mouthpiece cup, is left free. Supported on both sides but not clamped. Free to vibrate.
This is the vector that runs every great trumpet player you have ever heard. It is what modern elite pedagogy converges on no matter which school the player came up through. From the outside it does not look like anything is happening, which is exactly why amateurs miss it. The corners are doing all the work and they are not moving an inch.
What it is good for. Everything. Range, endurance, tone, flexibility, dynamic control. The corner-firm center-soft setup is the only vector that scales across the whole horn without paying a tax somewhere.
What it costs. Time. Of the four vectors, this is the one that requires the most patient training because the muscles involved are not the muscles you naturally reach for under pressure. You have to teach yourself the grip. There is no five-week shortcut.
The Diagnostic: Look at Your Corners
Here is the cheapest diagnostic in trumpet playing, and it requires only a mirror.
Play a note in the middle of your useful range. Comfortable. Easy. Look at your corners. Now play a note at the top of your useful range, the highest note you can play with full sound and air behind it. Look at your corners.
What changed?
If your corners pulled back into a smile, your default vector to ascend is lateral. That is the most expensive grip. You are spending endurance you do not have to buy range you cannot keep.
If your corners stayed still, held firm, anchored at the modioli with the center of your lip carrying the work, you have already built the isometric vector. Build more of it. That is the one that scales.
If your corners collapsed and went flappy as the note went up, you do not have a corner grip yet at all. The mouthpiece pressure and the air are doing all the work for you. Building corner firmness will be the highest-leverage hour you spend on the horn this month.
The diagnostic is free. The information is not. Most players have never looked.
How to Develop the Vectors You Don’t Have
You cannot train all four at once. You build them one at a time, in isolation, and then you let them mix on the horn.
For pucker awareness, use free lip-buzzing. Lips alone, no mouthpiece, no horn. Pucker concentrically and find a comfortable mid-range pitch you can hold for ten or fifteen seconds. The point is not to sound good. The point is to feel the orbicularis oris doing its own job without the rim of the mouthpiece doing it for you. Free lip-buzzing is a separate physical system from playing, so do not confuse it with practice. Treat it like calisthenics.
For corner firmness, use mouthpiece buzzing with intentional engagement. Put the mouthpiece against your lips, set the corners deliberately before you blow, and buzz a slow simple melody focusing entirely on the corners. Do they migrate as you ascend? Do they want to pull sideways into a smile? Hold them. The work is in noticing the drift and refusing to let it happen.
For sustained vector awareness, use long tones with one job at a time. Pick a vector for the session. Today is isometric corners. Tomorrow is pull-in. Every long tone, every breath, you check in with which muscles you are recruiting and whether they are the ones the vector calls for. This is slow and tedious and it is also how the actual skill gets built.
For combining vectors, just play music. Once you have isolated each of them deliberately, real playing will start to draw on the right mix without you having to think about it. The artist takes back over once the engineer has done the work.
How the Vectors Combine in Real Playing
Nobody plays a whole concert in one vector. A great player uses corners firm and center soft as the base setup, layers a small amount of concentric pucker for warmth on a low ballad, recruits a measured pull-in for stability on a long sustained passage, and almost never uses lateral smile at all except as a deliberate color choice on certain effects.
That mix is not random. It is the same way a good hand reaches for the right grip for the job, and changes grip when the job changes. A great player has all four and switches between them so fluidly that from the outside it looks like one continuous motion. From the inside it is four conscious muscle patterns layered in real time.
That is the goal. Not more compression. Better compression. The right grip for the right note.
For the bigger picture this vector talk lives inside, the pillar is here: /trumpet-embouchure-guide/. For what the aperture is doing while the lips compress: /trumpet-aperture-guide/. For how the jaw and air direction interact with all of this: /jaw-position-air-direction-trumpet/. For a full diagnostic walk-through of reading what your own chops are doing: /reading-your-embouchure/.
“I’m Compressing as Hard as I Can. What Now?”
If you have read this far and the honest answer to that question is yes, I want you to hear me clearly. Harder is not the answer. Harder has never been the answer. Which kind is the answer.
You could spend the next two years experimenting with the four vectors in front of a mirror and figure most of this out yourself. Some players do. Most do not, because the feedback loop is too slow and the wrong vector feels almost identical to the right one until the bill comes due five years later in lost endurance and a thinned-out tone you cannot get back.
That is the part the free 30-minute training is built to short-circuit. It walks you through each vector visually so you can see your own default in your own face the first time you put a mirror in front of yourself, and it shows you what the isometric corner setup is supposed to look like from the outside so you have a target to train toward instead of a feeling to chase. The mirror is free. The map of what to look for in the mirror is the part that takes years to assemble on your own, and the training hands it to you in half an hour.
The version of you squeezing harder every day is already paying a price. The version of you who knows which vector to reach for plays longer, sounds better, and does not keep replacing chops that wear out. The 30-minute training shows you which of the four you already have and which ones to build next. Take it before the bill from the wrong vector gets any bigger.