Your trumpet has three valves and can play more than three octaves. Sit with that for a second.
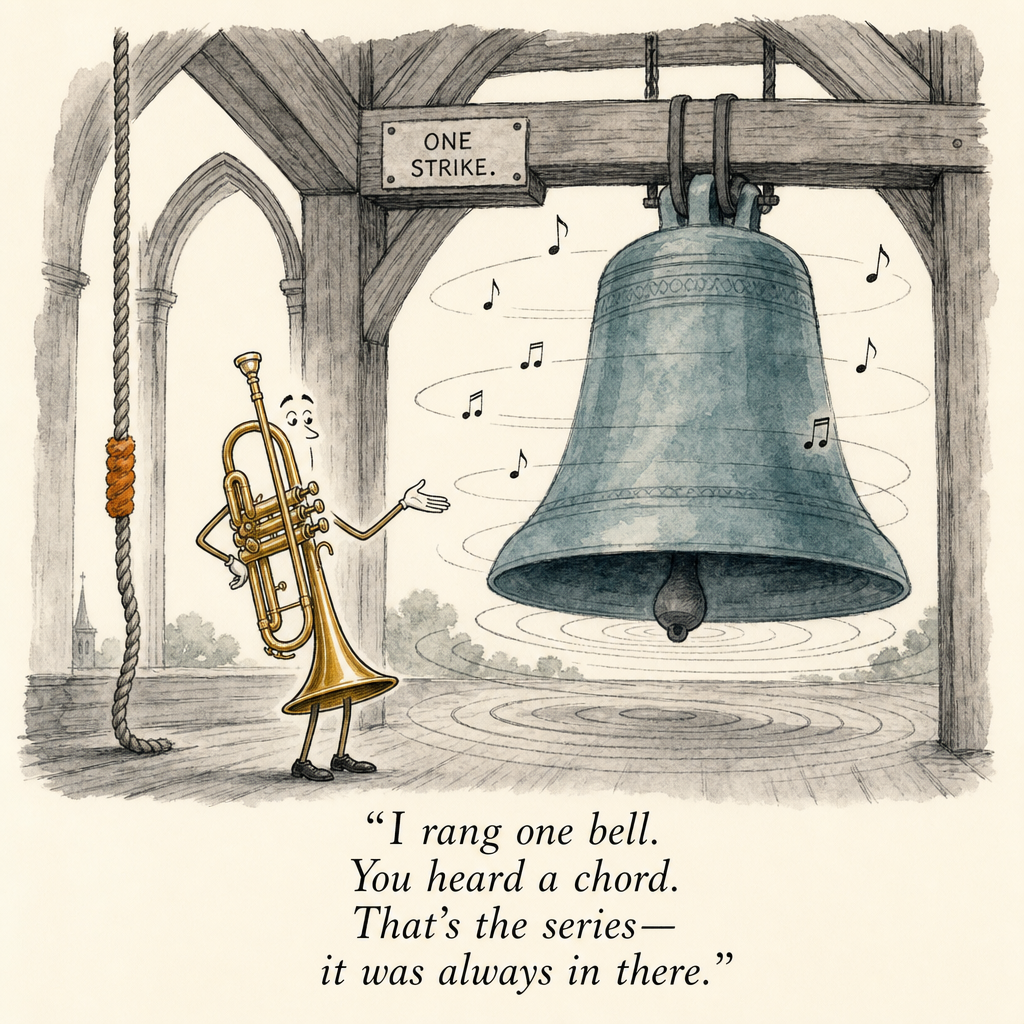
Three valves give you seven tube lengths. Seven tube lengths, dozens of notes. All the rest of the work, the entire vertical dimension of the instrument, is done by you, moving between the pitches each tube length naturally wants to produce. That stack of natural pitches is the overtone series, and it is the closest thing to a built-in range coach your horn will ever have.
Trumpet overtone exercises put you on that ladder deliberately. Done right, they train the exact levers that create range, air speed, tongue position, aperture, with no valves to hide behind, and they teach your ears what a truly resonant note feels like. They’re one of the core tool sets in my complete guide to building trumpet range, and this article shows you how to use them without turning them into chop-wreckers.
What the Overtone Series Is (and Why the Horn Cares)
Press no valves and start playing notes. Low C. G on top of the staff’s second line. Third-space C. E. G. High C. Same fingering the whole way. Nothing on the horn changed, and yet the pitch climbed.
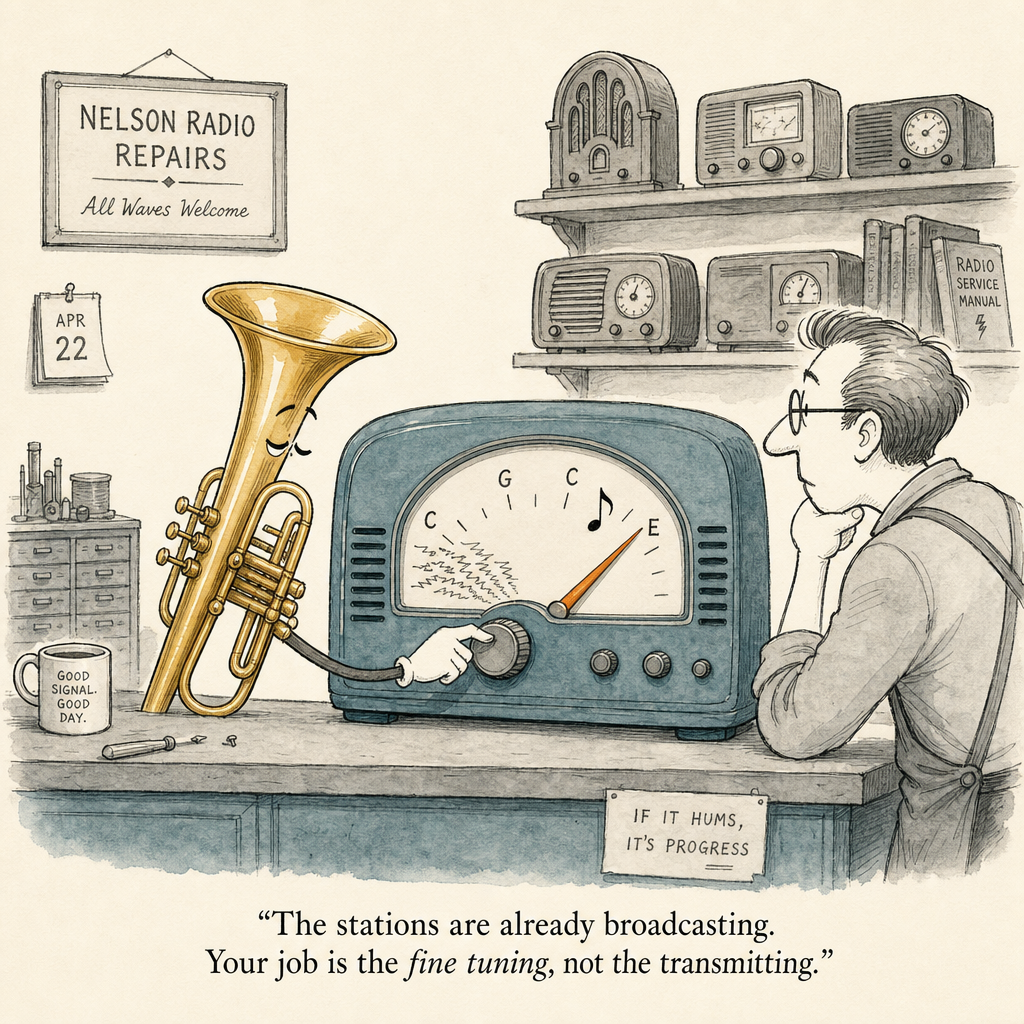
Each of those notes is a partial, one rung of the overtone series for that tube length. The tube has a set of frequencies it naturally resonates at, and those are the notes it offers you. Every valve combination has its own version of the same ladder, just starting from a different floor. Players call the rungs “slots” because that’s what they feel like: when your air and embouchure produce a frequency the tube agrees with, the horn locks on and the note sits down into place.
Notice what this means. Moving between partials on one fingering involves zero valve work. The only things that can change the note are the things you do: how fast the air moves, where the tongue sits, what the aperture is doing, how the abs are supporting. Which is exactly why overtone work is so valuable, and exactly why it’s so humbling.
Why Trumpet Overtone Exercises Build Range and Resonance
Two reasons, and they’re the two words in the title.
Range first. The upper register of the trumpet literally is the upper end of the overtone series. There’s no separate mechanism for high notes waiting up there, no different technique that kicks in above the staff. Climbing from one partial to the next rehearses the identical coordination, air accelerating, tongue rising, aperture focusing, that a high note demands. Every clean slur up the ladder is a rep of pure range mechanics. And because the fingering never changes, the feedback is brutally honest: if the partial didn’t move, your levers didn’t move. There’s no valve to blame and no valve to save you.
That honesty makes overtone work the best diagnostic on the horn. Do some slurs between partials and pay attention to what your tongue is doing. If you don’t feel it moving at all, congratulations, you just found the missing piece in your range. The tongue is one of the main ways to speed up the air, and a shocking number of players have never once asked it to participate. I’ve covered that lever in depth in tongue position for high notes, and the deeper mechanics in my full tongue position article.
Now resonance. Every slot has a center. Play in the center and the horn amplifies you for free: the note rings, the sound blooms, and the effort drops, because the tube is doing a share of the work. Play at the edge of the slot and you’re fighting the horn for every decibel. Overtone exercises train you to find centers on purpose, note after note, until centered becomes your default address. That’s the “responds easily” leg of my North Star, feels good, sounds good, responds easily, showing up as a physical sensation you can steer by.
One more thing the series teaches you: as you go higher, the partials pack closer together. Down low, the rungs are far apart and hard to miss. Up high, they’re crowded neighbors, which is why high notes demand precision and why guessing stops working above the staff. Overtone work is precision training for exactly that neighborhood.
The Exercises
Four of them, in the order I’d introduce them. All of them soft. All of them starting several notes below your maximum, because you’re learning the movement, not testing it.
The harmonic ladder. Pick a fingering, open is fine, and start on a comfortable partial, say second-line G. Slur up one rung, to third-space C, and back down. No valves, no tongue articulating the change, just air and tongue shape doing the lift. Use vowels: “ah” on the bottom note, moving toward “ee” as you rise. When one rung is smooth and centered in both directions, add the next. The goal is not height. The goal is that each change happens with air and arrangement, not with a bump of pressure or a jerk of the jaw.
The top-down reversal. Here’s a truth that fixes half of all slurring problems: if you can go from high to low, you can go from low to high. When you start low and climb, most players set up for the bottom note and try to adjust on the way up, and that’s where it falls apart. So flip it. Start on the top note of the pattern, descend through the partials, then turn around and come back up while the top note’s setup is still fresh in your body. You’re teaching yourself to be set for the top note of the phrase before you play the bottom one. That habit alone, setting up for the destination instead of the departure, will rescue more high notes than any strength you’ll ever build.
The slot finder. Hold one partial at a comfortable soft volume. Now bend the pitch slightly downward, off the center of the slot, and let it come back. Feel the horn resist the bend and then pull the note home. That pull is the slot, and this drill maps it. Being able to bend, shake, and manipulate a note is part of what it means to own it, and players who can feel the center of a slot stop landing on the edges of high notes and wondering why they crack.
The whistle pair. Away from the horn, whistle the contour of the slur you’re working on, low to high. Feel the tongue rise and funnel the air. Then immediately play the same contour on the horn as an overtone slur and let the tongue do the same thing. If you can whistle it, the mechanism is already in your body. The whistle is the rehearsal, the horn is the performance.
How to Dose Overtone Work
This is where players sabotage a perfectly good tool, so let’s be precise.
Overtone exercises follow my range pyramid like everything else. The bulk of your ladder work, 60 to 70 percent, happens in completely comfortable territory, a fourth or fifth below your ceiling, where the movements can be learned with full quality. A smaller slice pushes into the partials that take slight effort. A few reps, fresh only, touch the top of what’s reliable. And the partials beyond your current limit get exactly zero minutes, because flailing at a rung you can’t reach doesn’t build the ladder, it burns the climber.
Progress by creep, not conquest. When a rung has been smooth, centered, and easy for a couple of weeks, extend the pattern one rung, one half step of ambition at a time. Slowly is the key word. Your chops will tell you what slow means.
And match the dose to the day. On light days, ladder work stays low and lazy. Medium days, run the full patterns. Heavy days can visit the top rungs, early in the session, with real rest between attempts. Overtone exercises feel gentle, which fools players into overdosing them. They’re still range work. Respect them like it.
The Mistakes That Turn Overtones Into Chop-Wreckers
Muscling the change. If the partial only moves when you press the horn harder into your face, you’re not slurring, you’re squeezing, and you’ve replaced the whole point of the exercise with the worst habit on the instrument. The change should come from air and tongue. When in doubt, drop the pattern lower and softer until it does.
Jerking instead of shaping. Some players lunge at the upper partial with a head bob or a jaw snap. The horn reads none of that. It reads air speed. Keep the body quiet and make the inside do the work.
Chasing altitude. The ladder goes up forever and your face does not. A partial only belongs to you when it’s beautiful, in tune, resonant, and comfortable. Anything else is a note you visited, not a note you own, and visiting doesn’t count.
If you want a full progressive routine built from this family of exercises, the complete lip slur guide is the companion piece to this article: overtones are the map, lip slurs are the daily mileage. And since centered, resonant playing is really a sound skill wearing a range costume, my guide to trumpet sound rounds out the picture.
The Ladder Is Already in Your Horn
You don’t have to buy the overtone series or earn it. It shipped with the instrument. Every practice session, it sits there offering you the exact workout your range needs: honest feedback, built-in progression, and resonance training on every rung.
Most players climb it accidentally, occasionally, and too hard. Climb it on purpose, softly, a rung at a time, and the top of the horn stops being a mystery. It’s just the part of the ladder you haven’t gotten to yet.
Learn the Whole System
Overtone exercises are one tool in a complete range-building system, and tools work better when you know the build order. My free 30-minute training lays out that system start to finish, the same approach I teach inside the 1% Trumpet Program. If you want the map that tells you when the ladder, the long tones, and the air work each come into play, watch the free 30-minute training here.
— Jesse